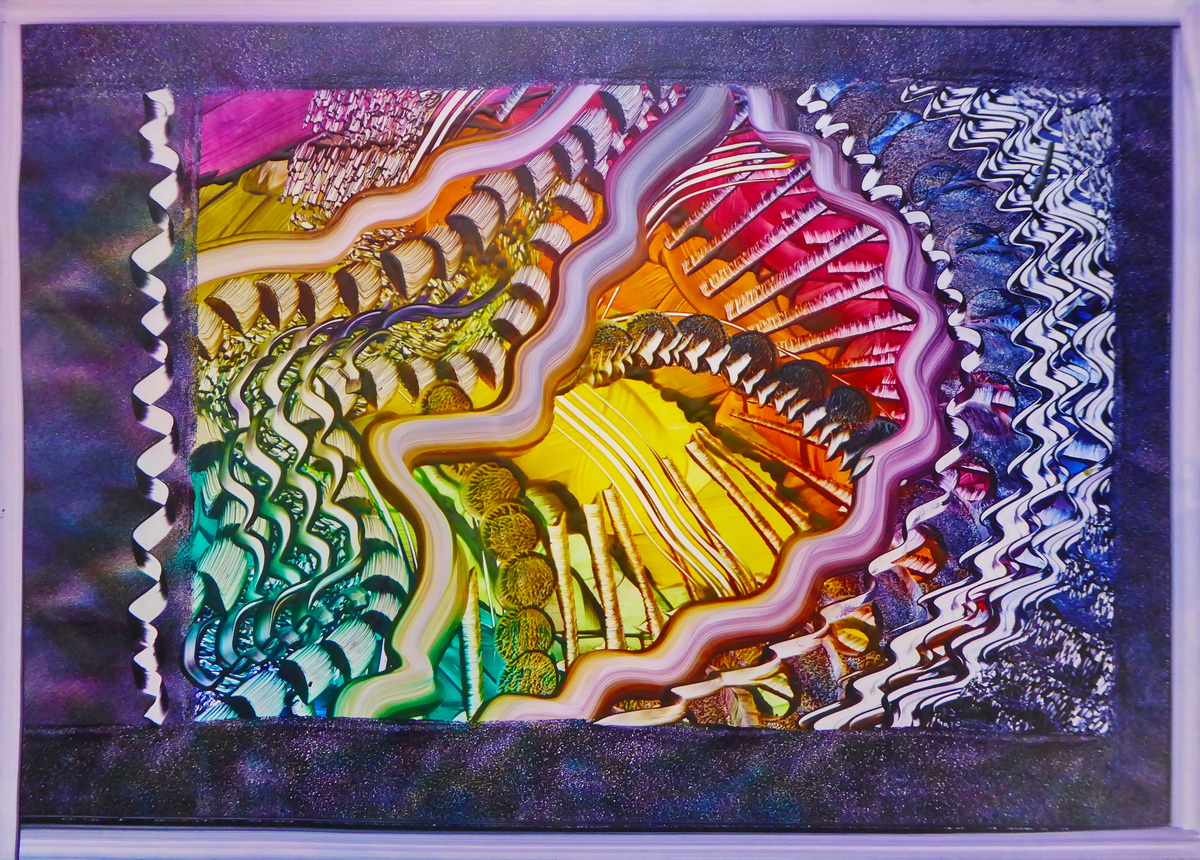
How to begin with the Electric Hotplate
The electric hotplate is a fantastic piece of equipment. All the qualities a good hotplate needs for surface work are optimised in this particular model. A flat and easy to clean toughened glass surface, with evenly spread heating from the printed element. And a thermostat that allows excellent temperature stability at any chosen level, all the way up to a top heat of about 87 Celsius. It is housed in an attractive and strong metal frame with metal handles that give complete confidence in handling the hotplate, even when it’s hot. Operation is simple; an illuminated on/off switch and a rotary thermostat temperature dial numbered from 1 to 12 (hottest). And it is large enough to enable an A2 to be worked. For an A3 there is plenty of spare surround to allow the roller to be loaded or colours to be mixed. It is the perfect tool for thin substrate encaustic surface work. The underheating of the substrate creates an ever changeable single fused layer!
Steps
- Switch the hotplate on and set the thermostat dial to 8, then allow 15 minutes for it to heat up.
- Melt clear wax medium onto the hotplate surface where the card will be placed
- Settle the card down onto the waxed area and use tissue pads to smooth it into perfect contact over the whole card area.
- Choose the first wax block colour – yellow in this case. As you touch it onto the underheated card it will melt and begin coating the card.
- Add further colours into various areas until the card is covered. Play with marks as you do this if you like.
- Fold a tissue into a pad and then use it to press a small part onto the waxed card and move or remove the colour, create new textures and patterns.
- The orange texturing sponge is great for flattening out areas and adding in colour – ideal for backgrounds.
- The white block rubber sponge moves the wax, something like a squeegee edge. Great for patterns and fast wax movement.
- Re-wax the hotplate at any time. Add new or similar colours. Dark over light works better than light over dark.
- The white rubber sponge ring offers all sorts of marks. Place for rings, drag or tap the edge for various other results.
- The sponge roller is perfect for evening out the wax and calming areas. It is also good for mark making by placing and lifting or tapping the end for instance.
- The white rubber sponge plug (from inside the white rubber ring) is small enough to work well within larger images. Place, drag, tap. Lots of useful marks are available.
- The rubber comb has 3 different toothed edges which can build up detailed marks very quickly indeed.
- The Rubber brushes are silicone rubber tool. Again they offer many marks and drag wax off the card surface.
- The hotplate is a useful mixing palette for molten wax colours. It is not designed for deep tin melting (more common in resin wax applications). In a flat bottomed tin this hotplate will melt about 7mm of wax nicely and hold it in that usable liquid all day long. And surface mixing of colours is just like any other paint palette. So easy and convenient.
- The Brush Assortment offers the perfect natural hair brushes for taking the molten wax and applying it onto rigid boards. Great for layering techniques. *note: thicker layers of wax are best fused, to ensure they are solid and will remain strongly attached. Carefully reheat using a hot air gun or similar tool so that the waxes remelts and merge into one final layer.
- Applying wax directly onto the hotplate allows card to be dragged or swipes through that molten reservoir to create a coating onto that part of the dragged card surface. Great for landscape, fantasy and backgrounds!
- Building up an abstract is simply a matter of playing with the various tools within the colours. Change is always possible. Add new colours, wipe off or pattern with tissues. Use the roller for a perfectly even background or for adding calm borders perhaps? All the tools bring different possibilities, including the Scrapy silicone rubber wax movers. These are various pointed tools for pushing wax around, mixing, patterning and removing too.
- It is a fantastic tool, this electric hotplate – you won’t find anything better for direct single layer encaustic working.
Products Used
- Encaustic Art Electric Hotplate (EU plug: Art.99530303) (BS-UK plug: Art.99530304) *only available 220/240 volts
- Encaustic Art Wax blocks
- Orange (Art. 99534903)
- Leaf Green (Art. 99534906)
- Blue Green (Art. 99534908)
- Red violet (Art. 99534912)
- White (Art. 99534916)
- Clear Wax Medium (Art. 99534927)
- Bright Red (Art. 99534943)
- Mid Yellow (Art. 99534944)
- Cyan Blue (Art. 99534946)
- Indigo (Art. 99534947)
- Encaustic Art A3 painting card (Art. 99537450)
- Tissues from the local grocery – large size double ply tissues are ideal.
- Sponges – Assortment (Art. 99600000)
- Roller 10cm sponge – from most DIY stores
- Rubber Comb (Art. 99531510)
- Rubber Brush Assortment (Art. 99531600)
- Brushes – Assortment (Art. 99534000)
- Scrapy Set – (Art. 99531500)

